

Essential Exterior Painting Prep Work for a Flawless Finish
- Fritz anderson
- Jul 28
- 4 min read
Painting the outside of your home or business is a big job. It can transform your property and boost its curb appeal. But before you dip your brush or roll on that fresh coat of paint, there’s one thing you must do right: prep work. Good prep work sets the stage for a long-lasting, beautiful paint job. Skip it, and you risk peeling, cracking, and fading paint sooner than you want.
I’m here to walk you through the essential exterior painting prep work. I’ll share practical tips, common mistakes to avoid, and how to get your surfaces ready for paint. Let’s dive in and get your exterior looking amazing!
Why Exterior Painting Prep Work Matters
You might think painting is all about the paint itself. But the truth is, the secret to a great paint job lies in the prep. When you prepare your exterior surfaces properly, the paint sticks better and lasts longer. It also looks smoother and more vibrant.
Here’s why prep work is so important:
Removes dirt and grime: Paint won’t stick well to dirty surfaces.
Fixes damage: Cracks, holes, and rotted wood need repair before painting.
Prevents peeling: Proper sanding and priming help paint adhere.
Ensures even coverage: Smooth surfaces mean fewer coats and better results.
Taking the time to prep your exterior is an investment. It saves you money and hassle down the road. Plus, it makes your home or business stand out in the neighborhood.
Key Steps in Exterior Painting Prep Work
Let’s break down the main steps you need to follow for solid exterior painting prep work. Each step is important, so don’t rush!
1. Clean the Surface Thoroughly
Start by washing your exterior walls. Use a pressure washer or a garden hose with a scrub brush. Focus on removing:
Dirt and dust
Mold and mildew
Loose paint flakes
Cobwebs and debris
If you spot mold or mildew, use a mixture of water and bleach (1 part bleach to 3 parts water) to kill it. Rinse well and let the surface dry completely before moving on.
2. Scrape and Sand Loose Paint
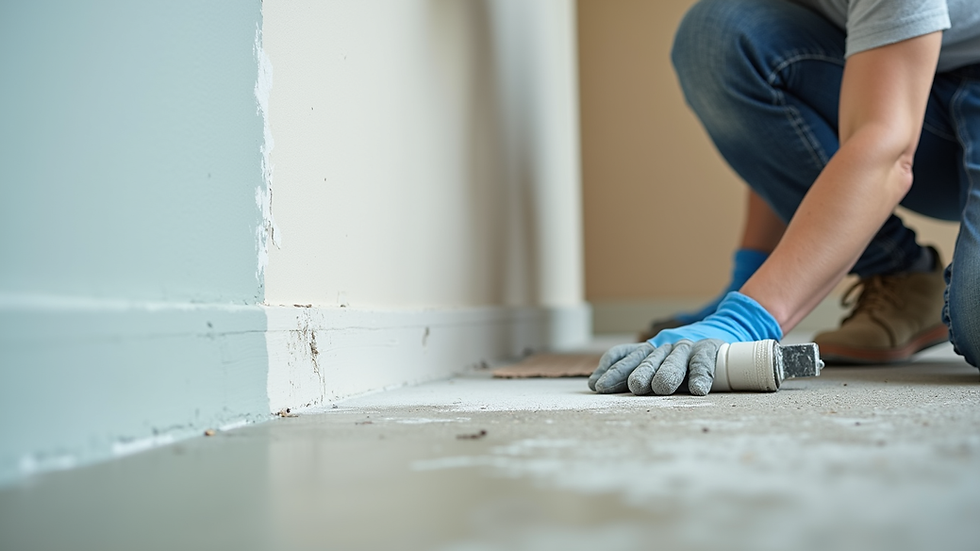
Next, inspect your walls for peeling or flaking paint. Use a paint scraper or putty knife to remove all loose paint. Don’t leave any behind, or the new paint won’t stick properly.
After scraping, sand the edges of the scraped areas to smooth the transition between bare wood or old paint and the remaining paint. Use medium-grit sandpaper (80-120 grit) for this. Sanding also helps roughen glossy surfaces so paint adheres better.
3. Repair Damaged Areas
Look for cracks, holes, or rotted wood. These need fixing before painting:
Fill small cracks and holes with exterior-grade caulk or wood filler.
For larger holes or damaged wood, replace the affected sections.
Sand the repaired areas smooth once dry.
Don’t skip this step! Paint over damaged surfaces will peel or crack quickly.
4. Prime the Surface
Priming is a must, especially on bare wood, metal, or patched areas. Primer seals the surface and improves paint adhesion. It also blocks stains and prevents tannin bleed from wood.
Choose a primer suited for your surface and paint type. Apply it evenly and let it dry fully before painting.

What are common exterior painting mistakes?
Even with the best intentions, mistakes happen. Knowing what to avoid can save you time and money.
Mistake 1: Skipping Cleaning
Painting over dirt or mildew is a recipe for disaster. The paint won’t stick and will peel off quickly. Always clean thoroughly.
Mistake 2: Ignoring Weather Conditions
Painting in extreme heat, cold, or humidity can ruin your finish. Check the forecast and pick a dry, mild day.
Mistake 3: Using the Wrong Paint or Primer
Exterior surfaces need paint and primer designed for outdoor use. Interior paints won’t hold up to sun and rain.
Mistake 4: Not Repairing Damage
Painting over cracks or rotted wood leads to peeling and further damage. Repair first!
Mistake 5: Applying Paint Too Thickly
Thick coats take longer to dry and can drip or crack. Use thin, even coats for the best results.
Avoid these pitfalls, and your paint job will look professional and last longer.
Tools and Materials You’ll Need for Prep Work
Having the right tools makes prep work easier and more effective. Here’s a checklist:
Pressure washer or garden hose with scrub brush
Paint scraper or putty knife
Sandpaper (80-120 grit)
Exterior-grade caulk and caulking gun
Wood filler or epoxy for repairs
Primer suitable for your surface
Drop cloths and painter’s tape
Safety gear (gloves, goggles, mask)
Organize your tools before you start. It keeps the process smooth and efficient.

Final Tips for a Successful Exterior Paint Job
Before you grab your brush, keep these tips in mind:
Plan your timing: Choose a stretch of dry weather with temperatures between 50°F and 85°F.
Work in sections: Paint one wall or area at a time to keep edges wet and avoid lap marks.
Use quality paint and primer: It’s worth the investment for durability and appearance.
Protect plants and surfaces: Cover nearby plants, walkways, and windows with drop cloths.
Take your time: Rushing leads to mistakes. Prep well and paint carefully.
If you want to learn more about prep work for exterior painting, check out detailed guides and expert advice online. Proper prep is the foundation of a paint job you’ll love for years.
Ready to transform your property with a fresh coat of paint? Start with solid prep work. It’s the key to a flawless, long-lasting finish that will wow your neighbors and visitors alike!



Comments